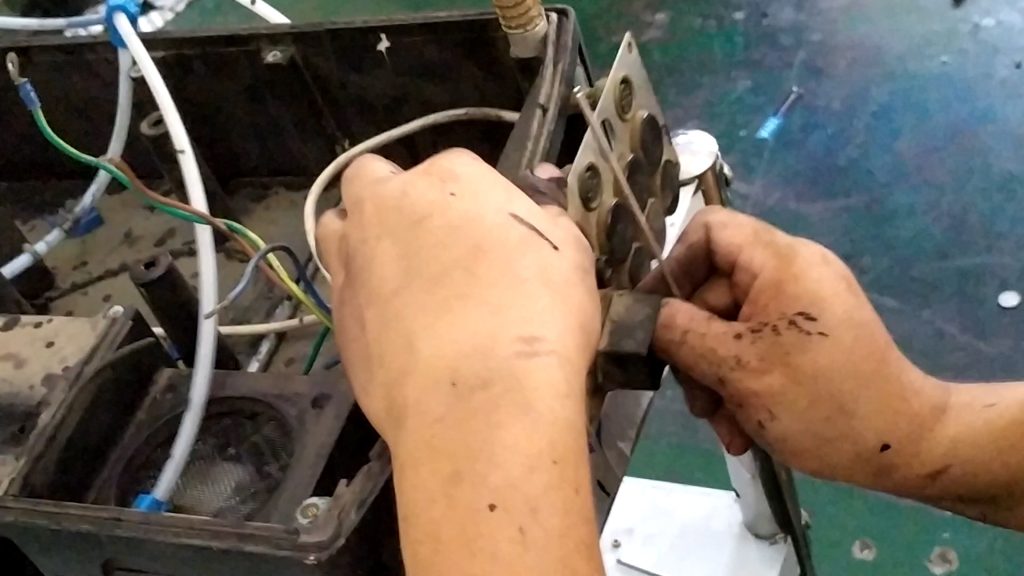
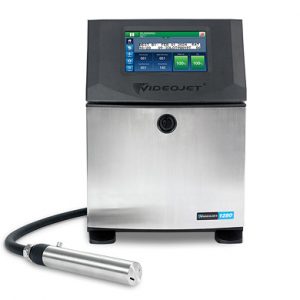
First remove the cover:
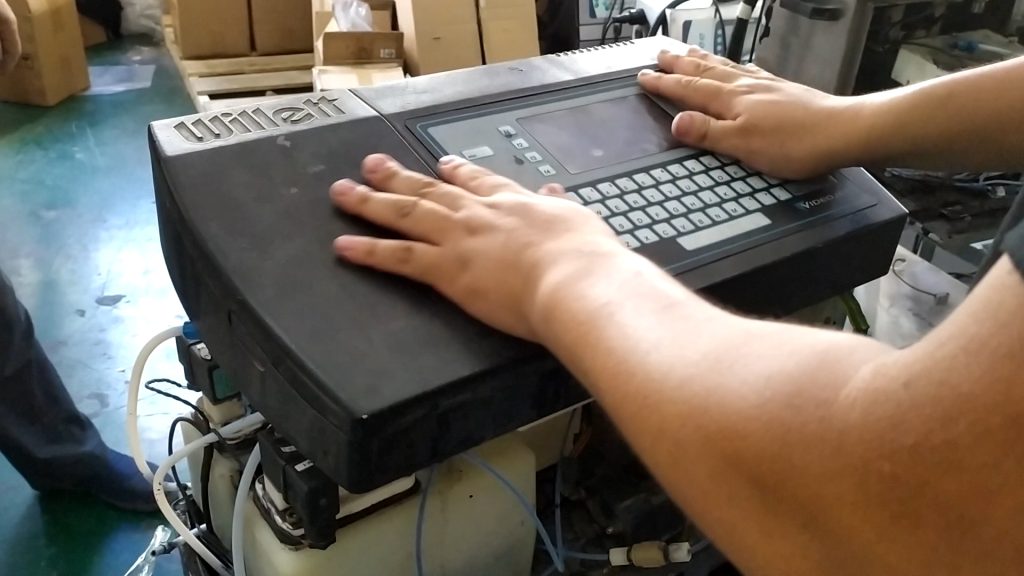
Take this thing down again:
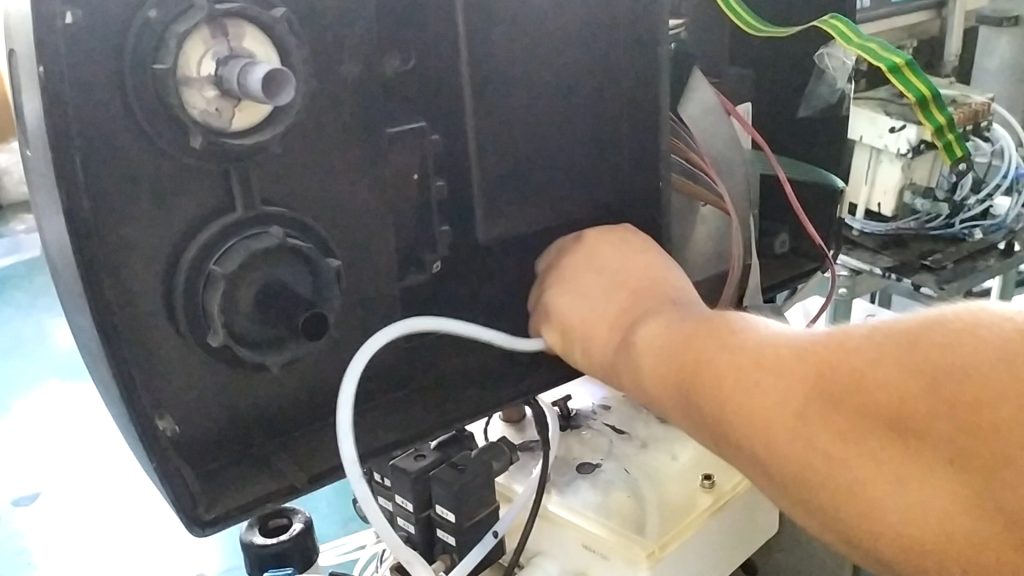
Remove these wires:
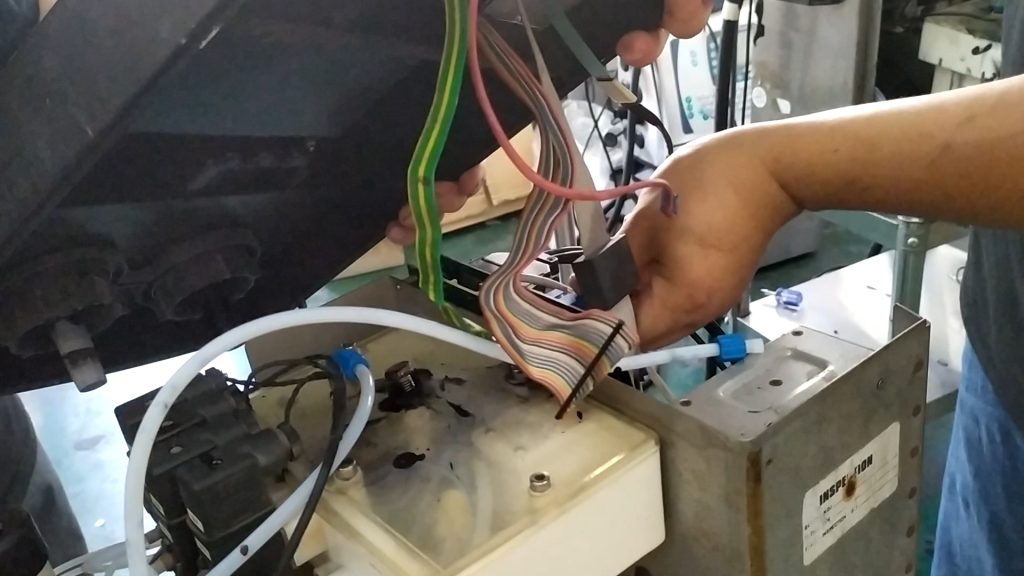
Remove the screws:
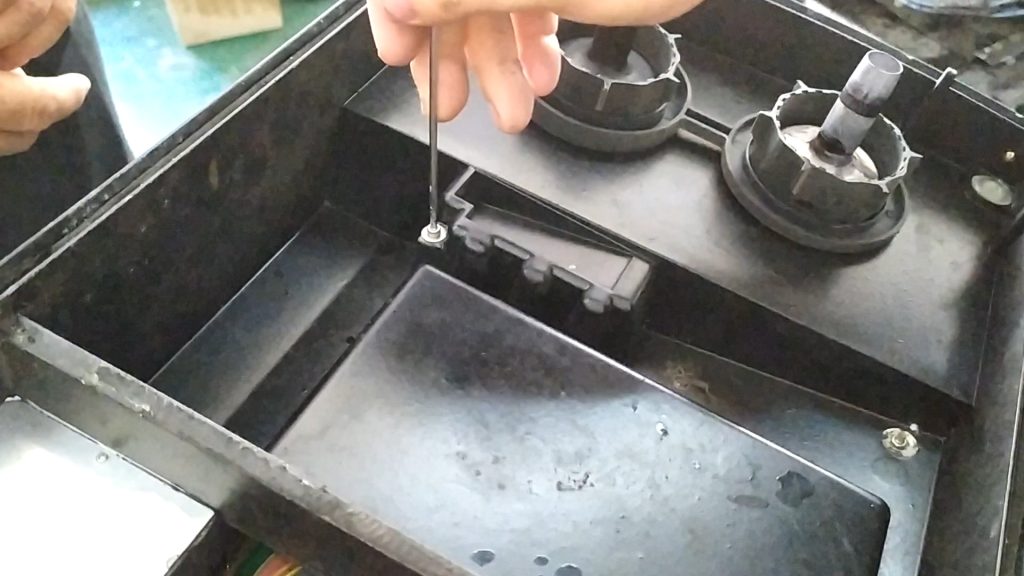
Take out the keyboard:
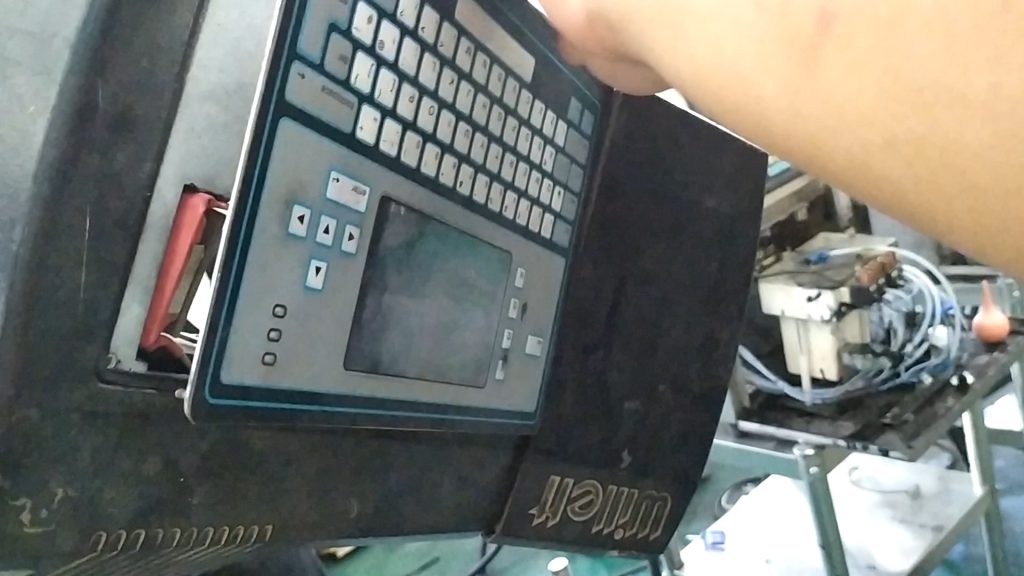
Remove these four screws and the display can be removed:
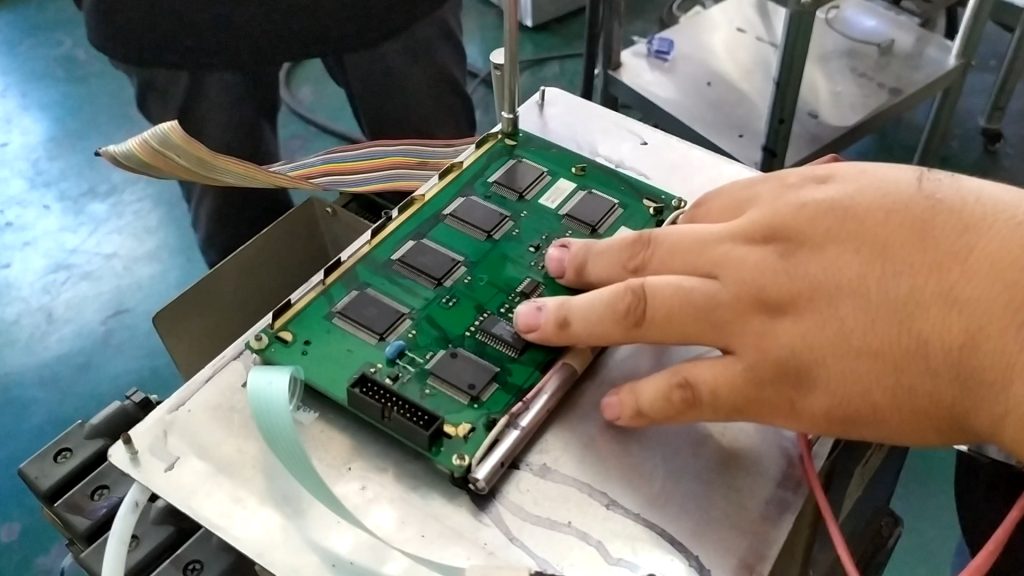
Remove the mainboard and remove these wires first:
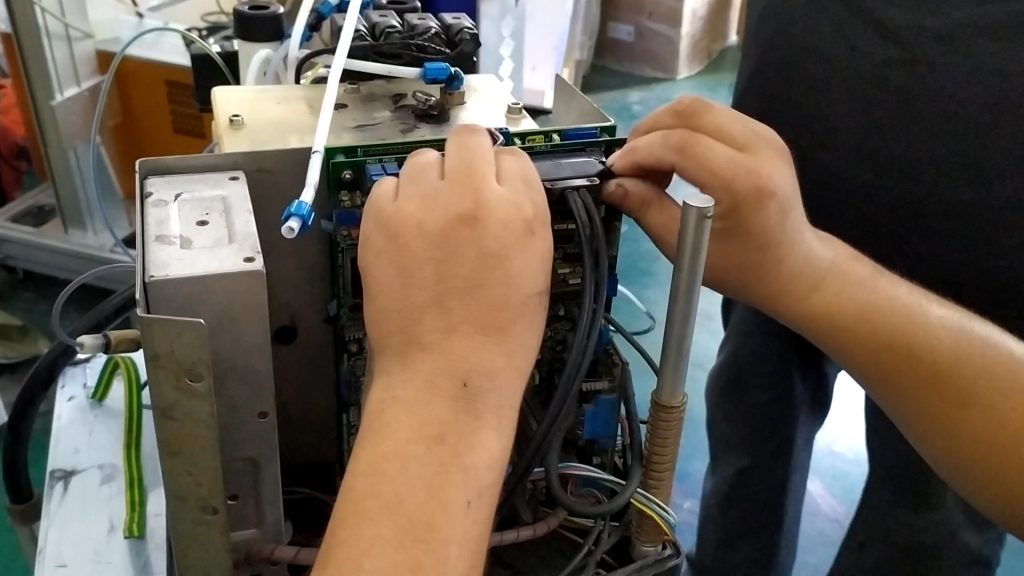
Pull out all the cables below:
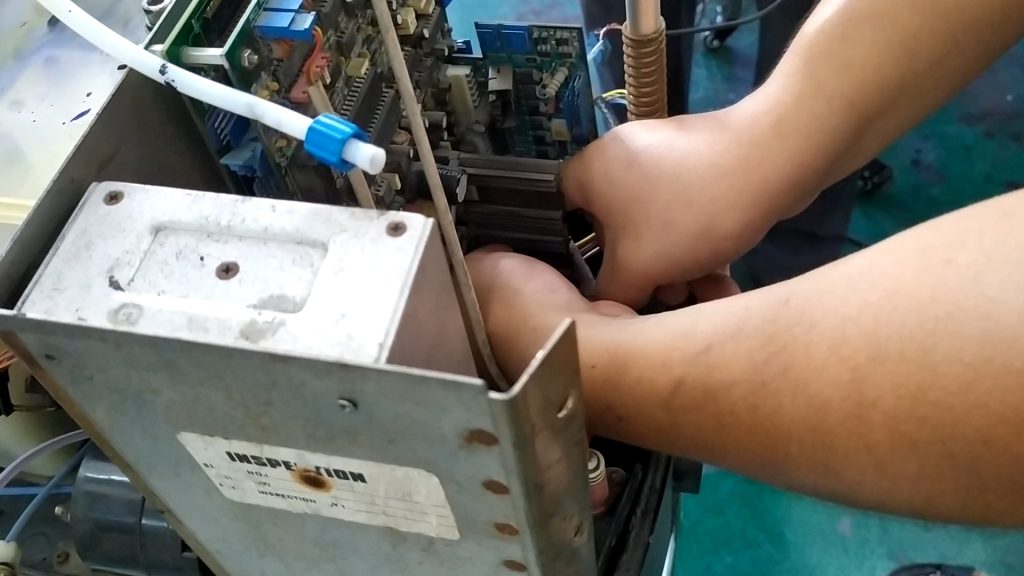
Ink remover control board:
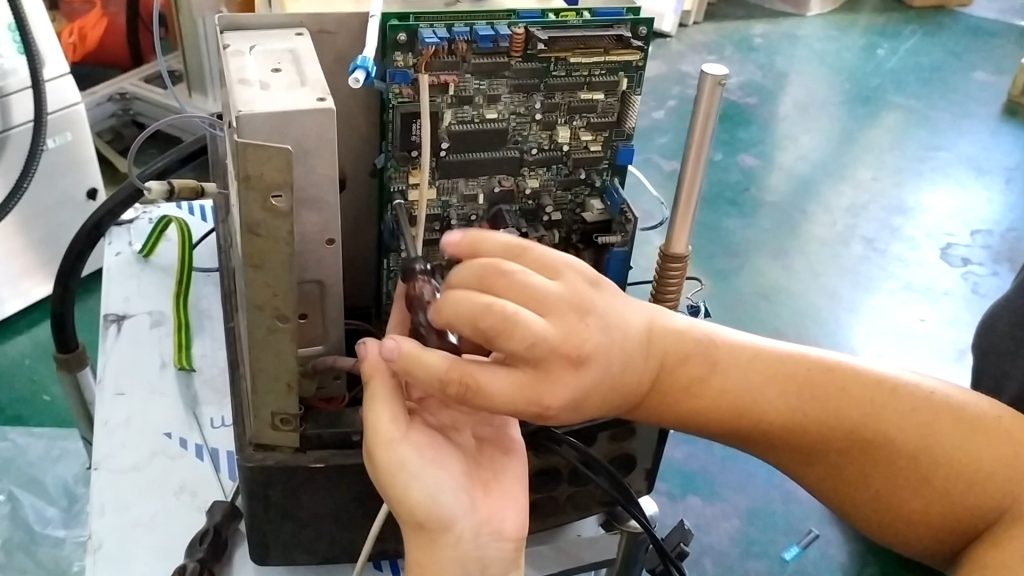
When the power cord is disconnected, the ink machine control board is unplugged:
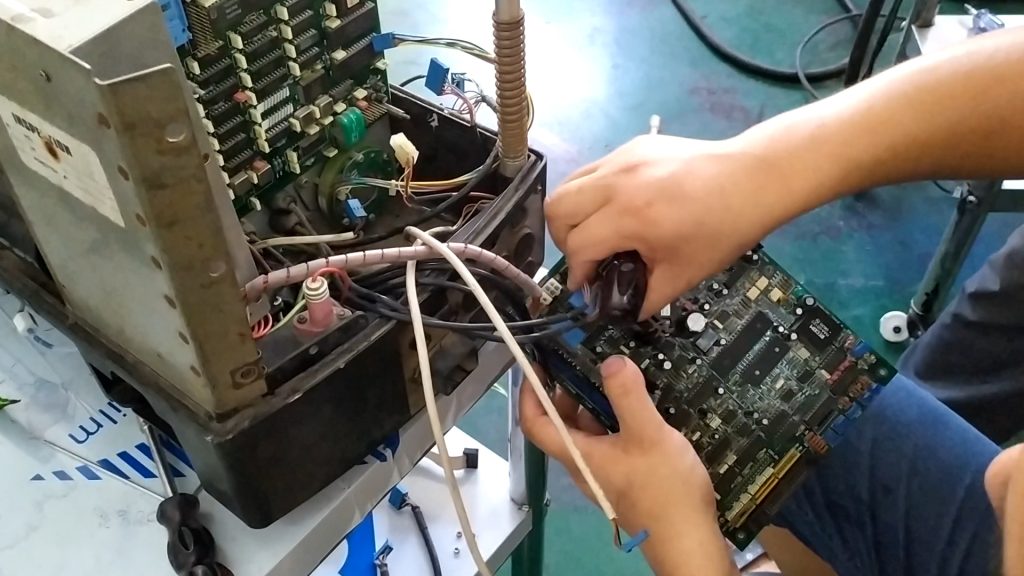
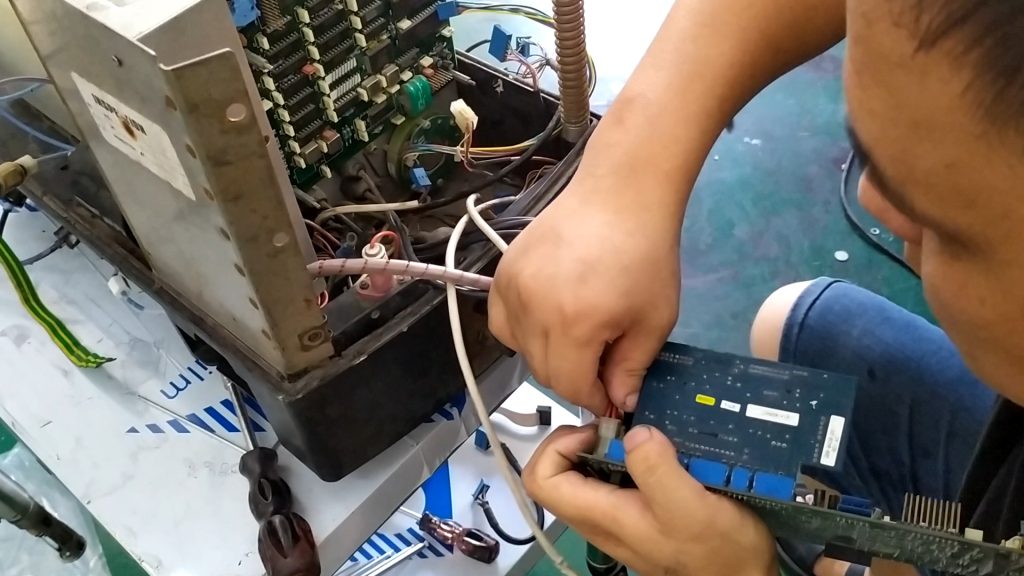
Split the flow plate again:
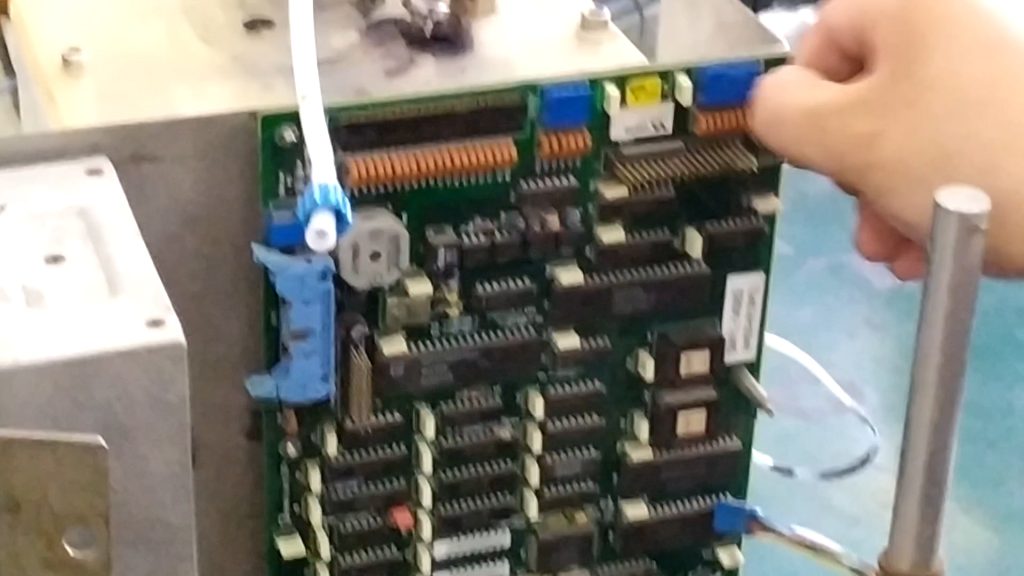
Then remove the power supply:
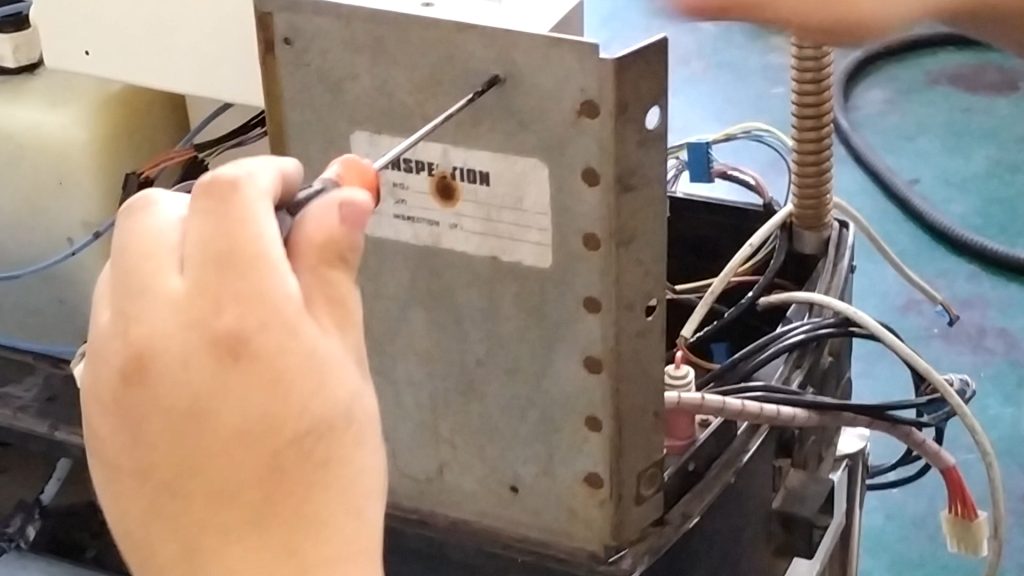
Remove these wires:
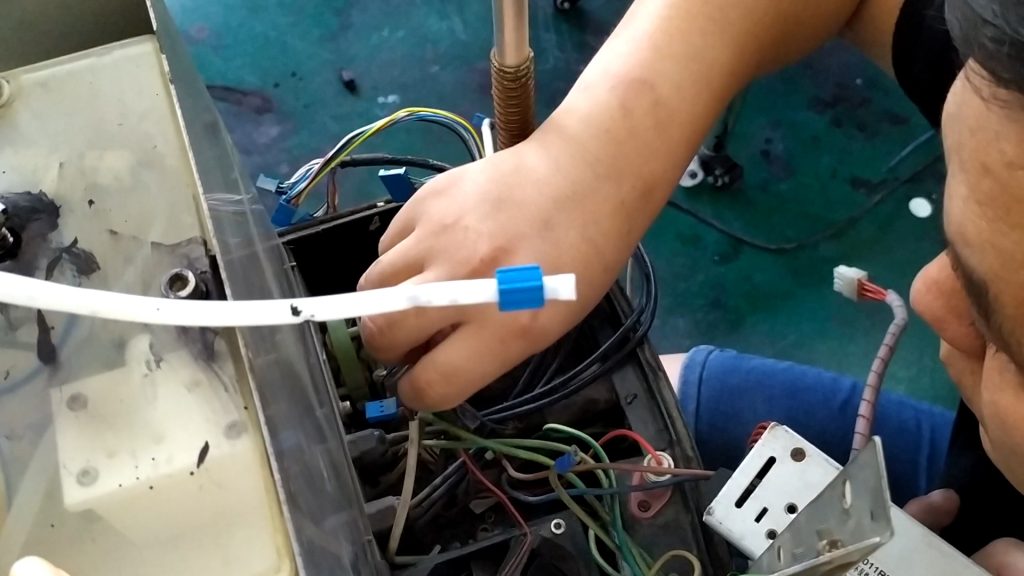
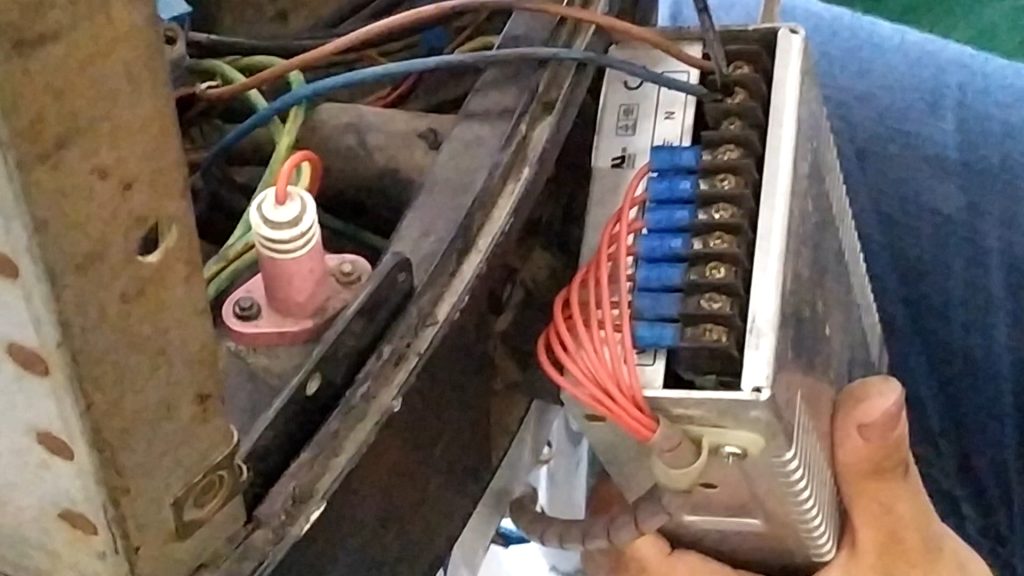
Then remove the high-voltage package and remove the high-voltage cable:
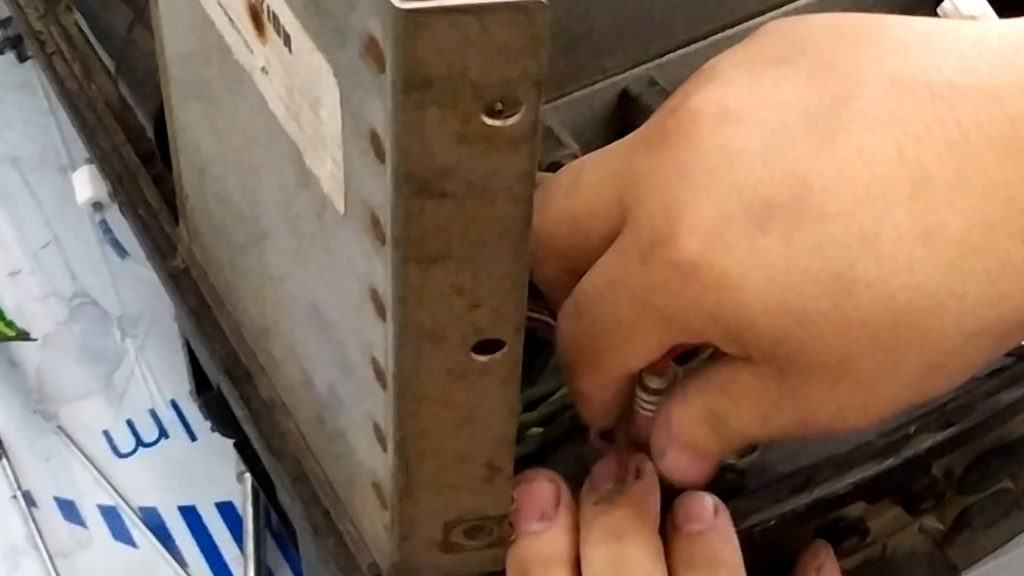
Loosen the two screws of the fan:
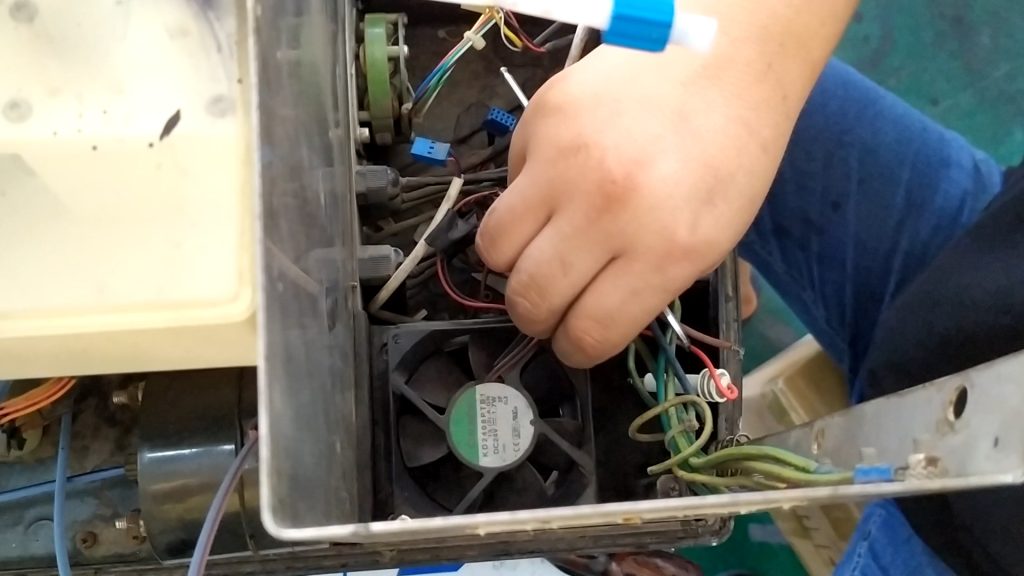
Tear off these rubber bands:
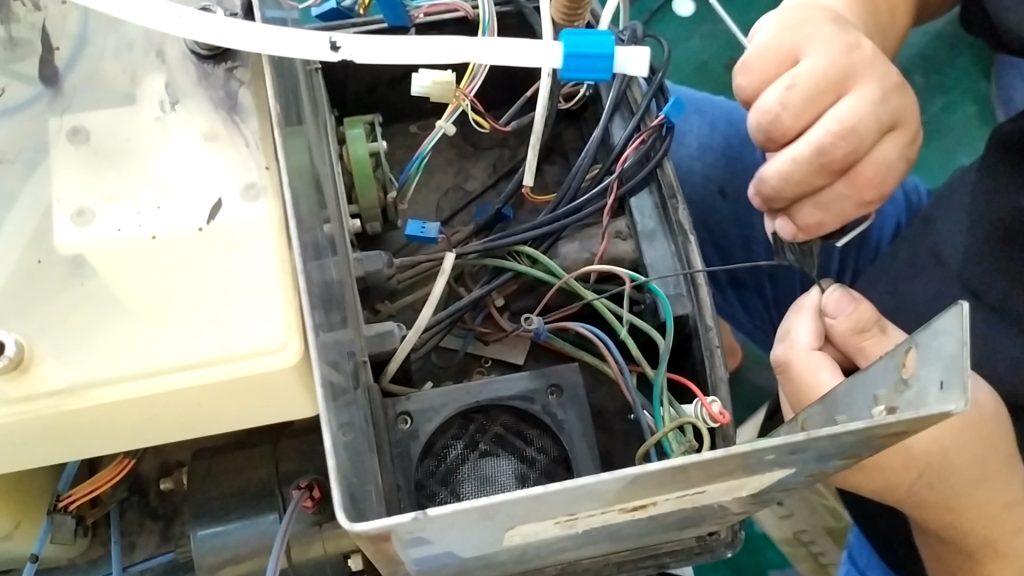
Remove these two screws:
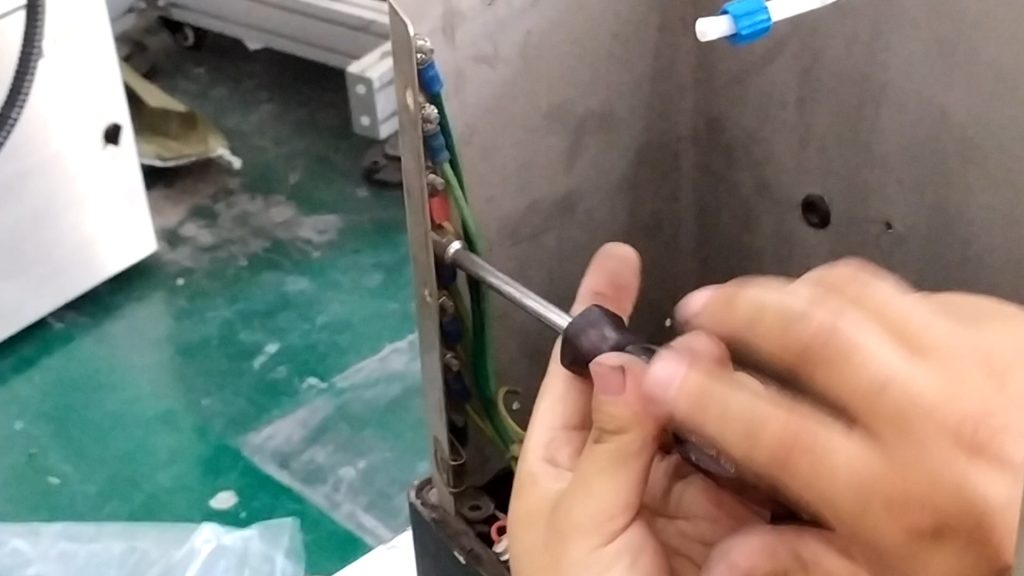
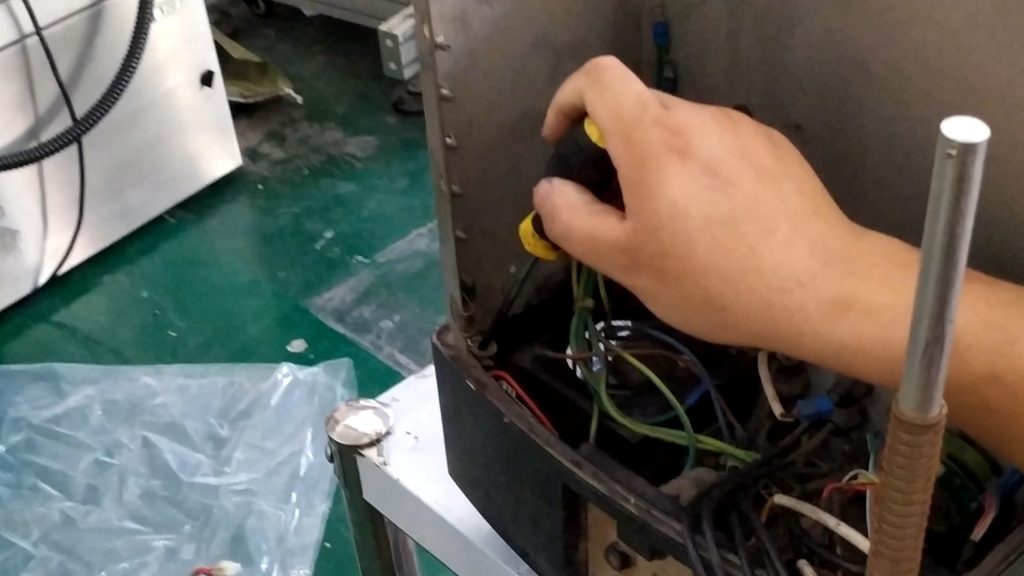
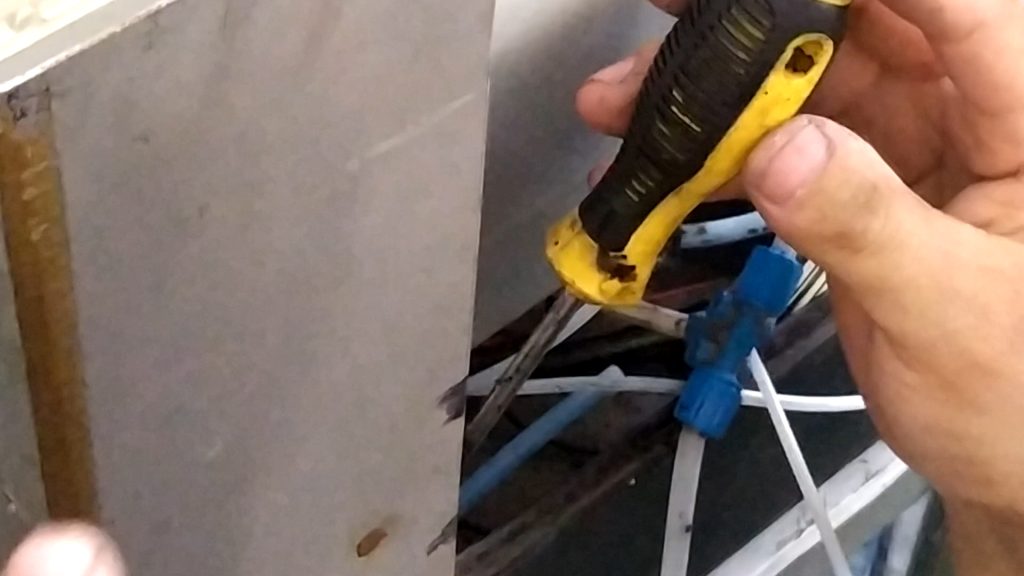
Remove the screws of the main ink tank and the main solvent tank:
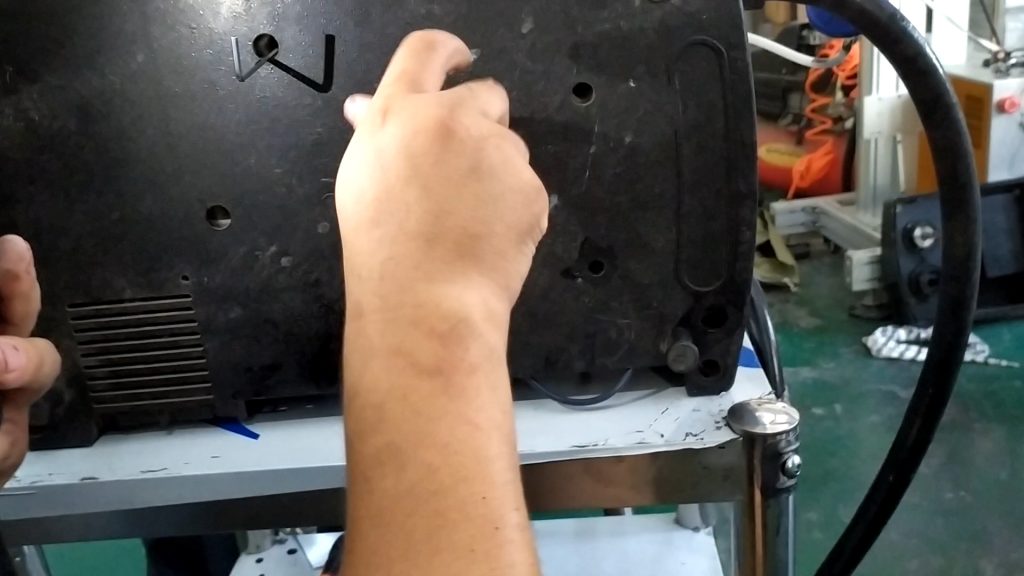
Unplug this cable:
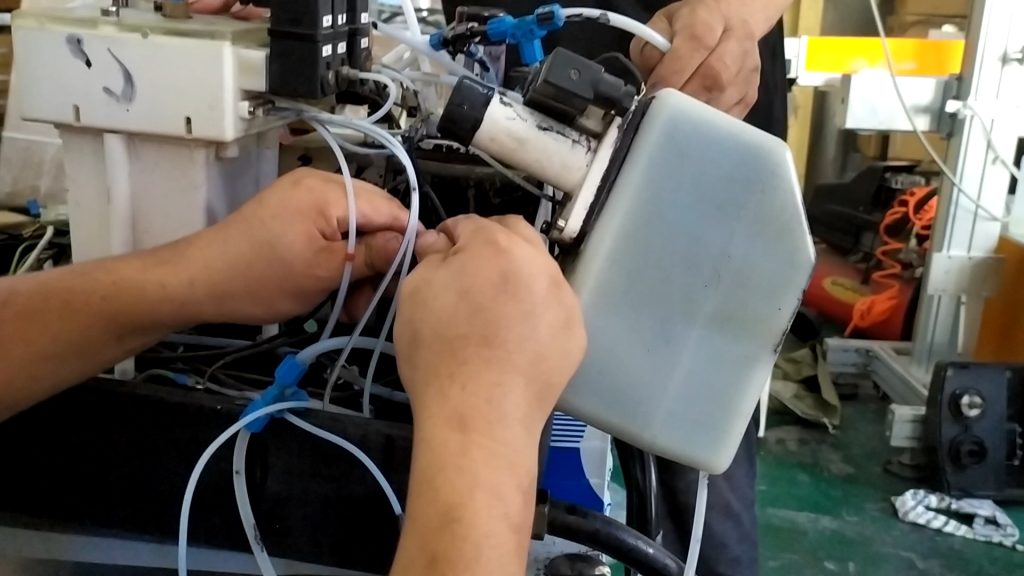
Remove the screw, the ink, and the thread:
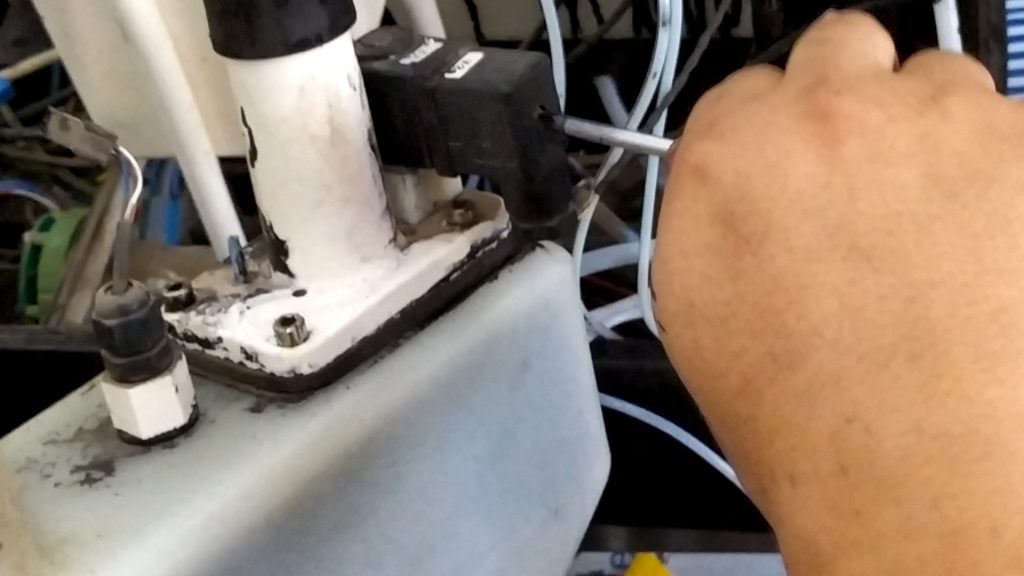
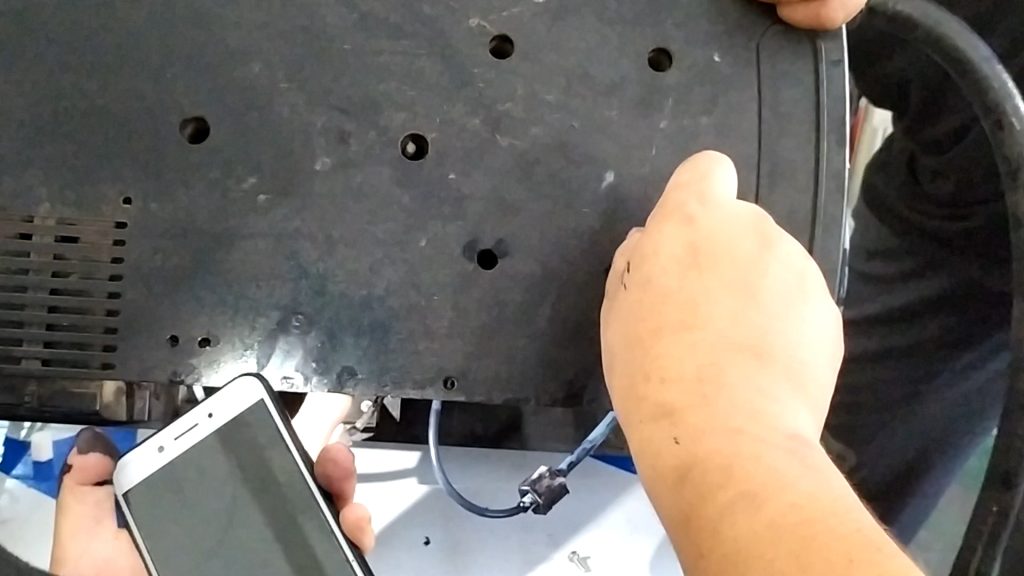
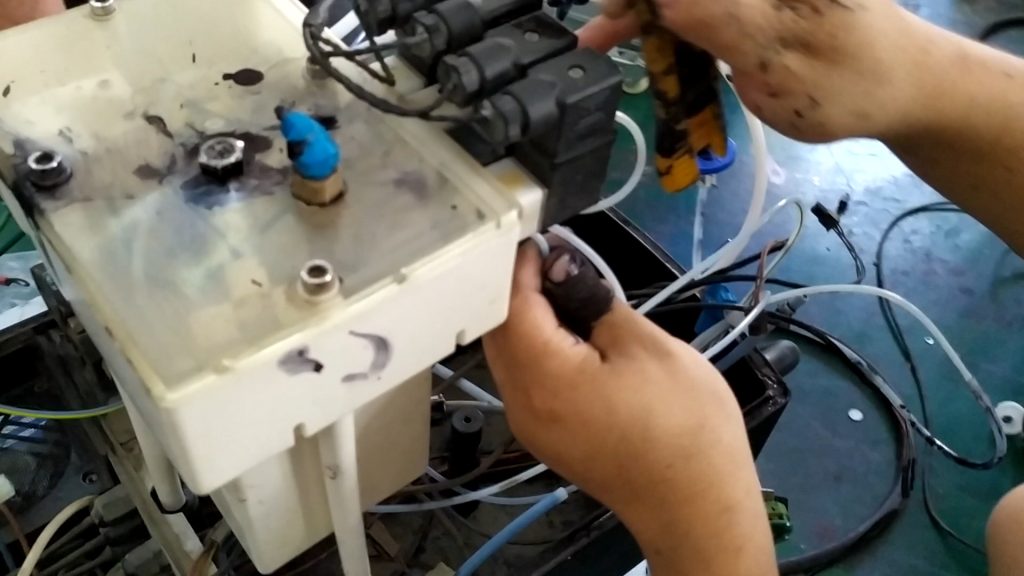
Unplug this pipe:
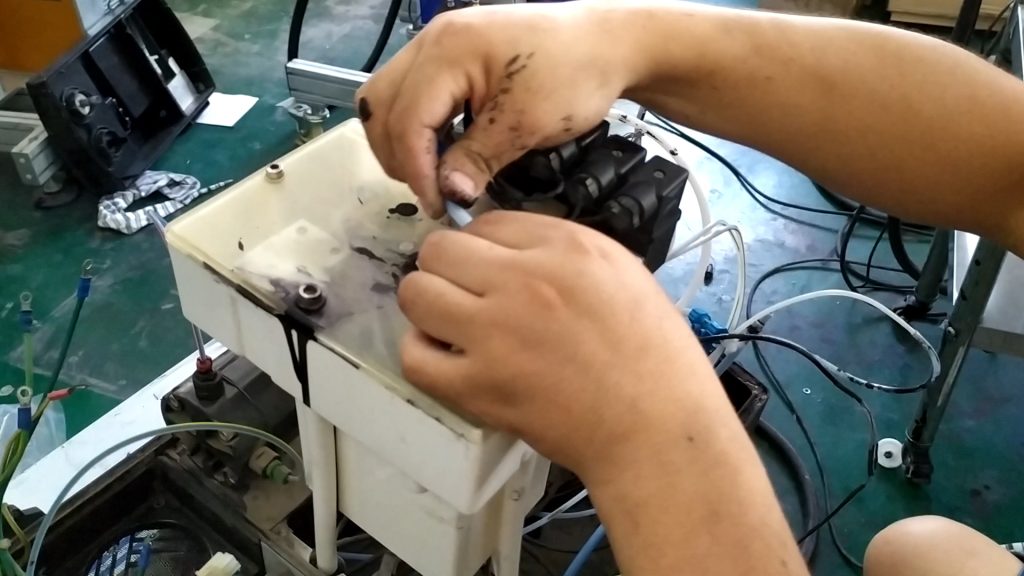
These rear pipes should be removed. If it is difficult to remove them, they can be cut off with a knife:
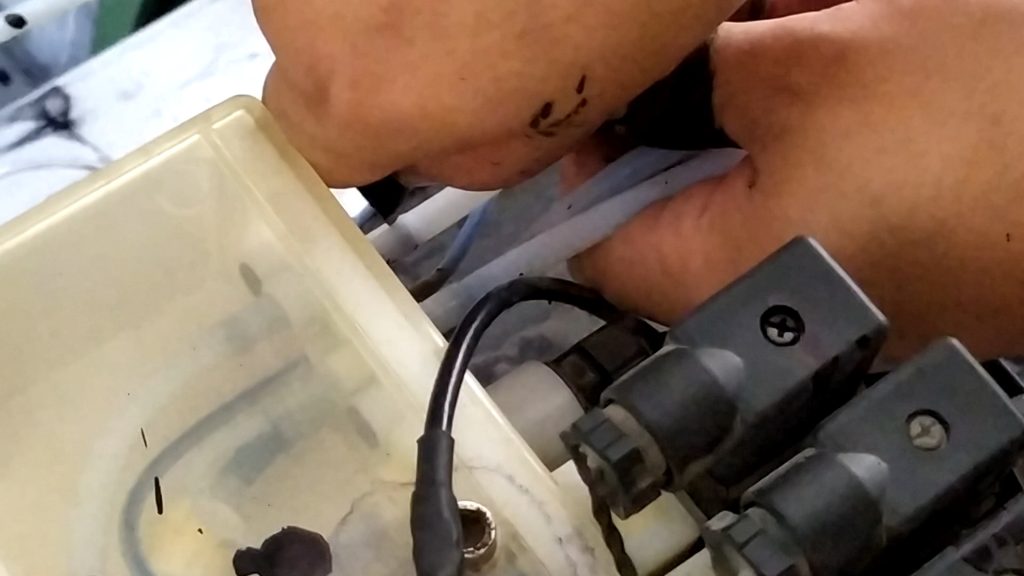
We pulled out the line under the pipe and removed the three screws:
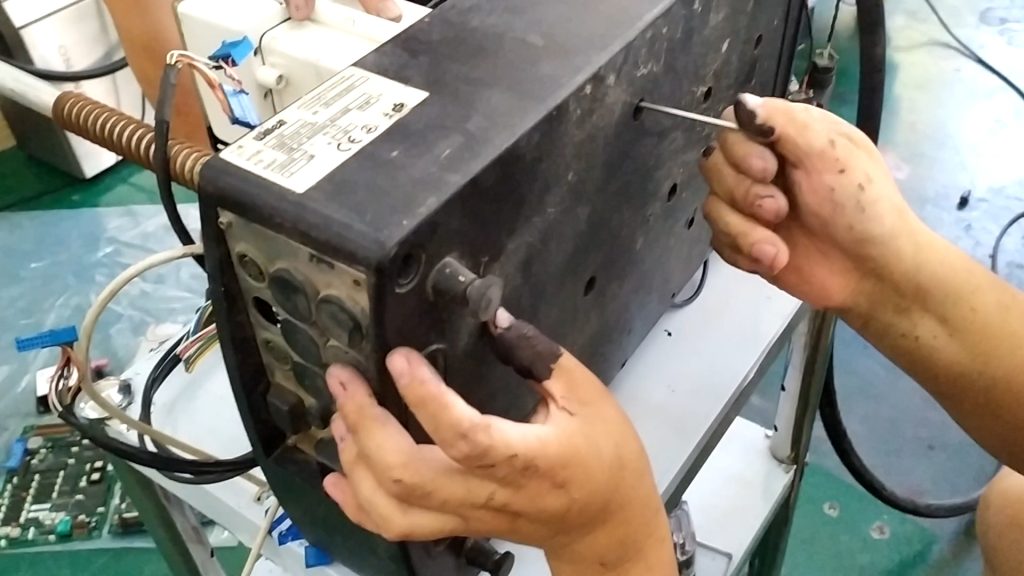
Take the wire apart:
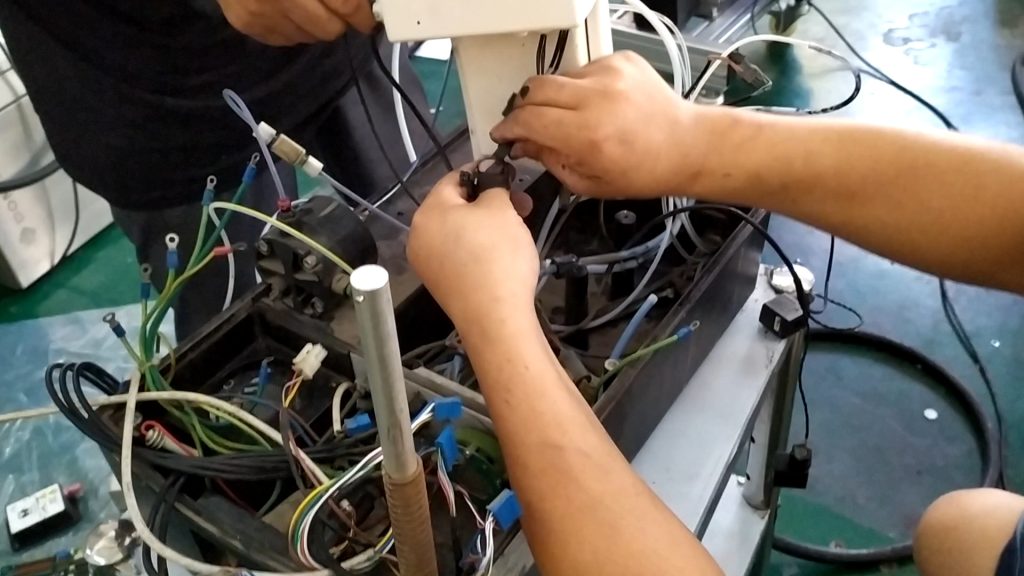
Pump removal:
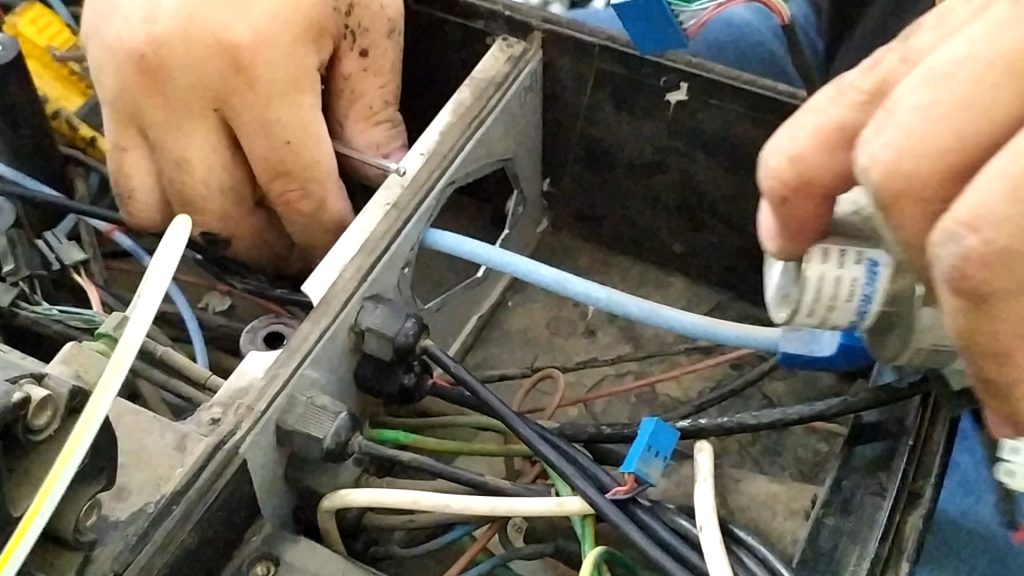
This pipe was also removed:
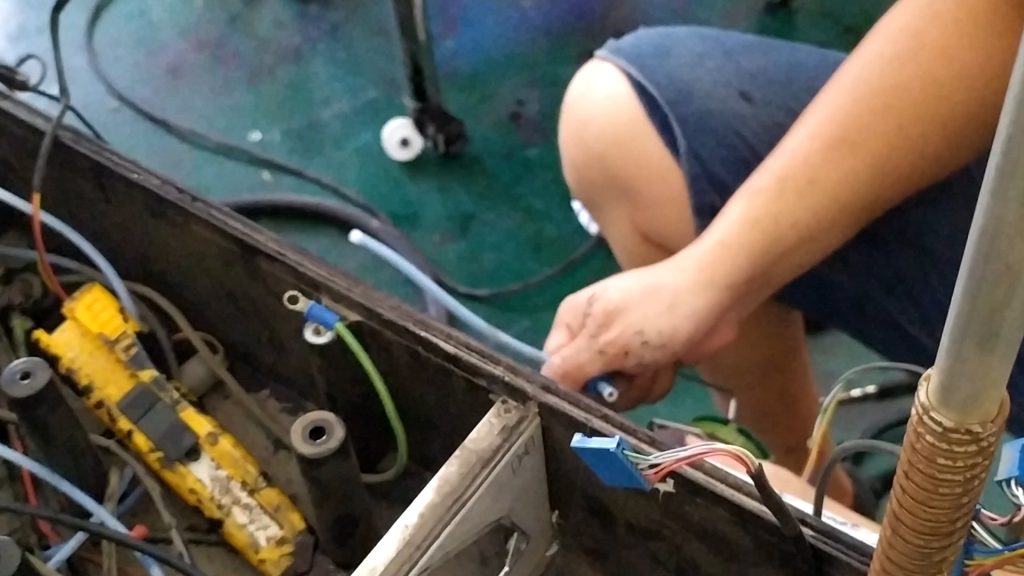
Thread cutting:
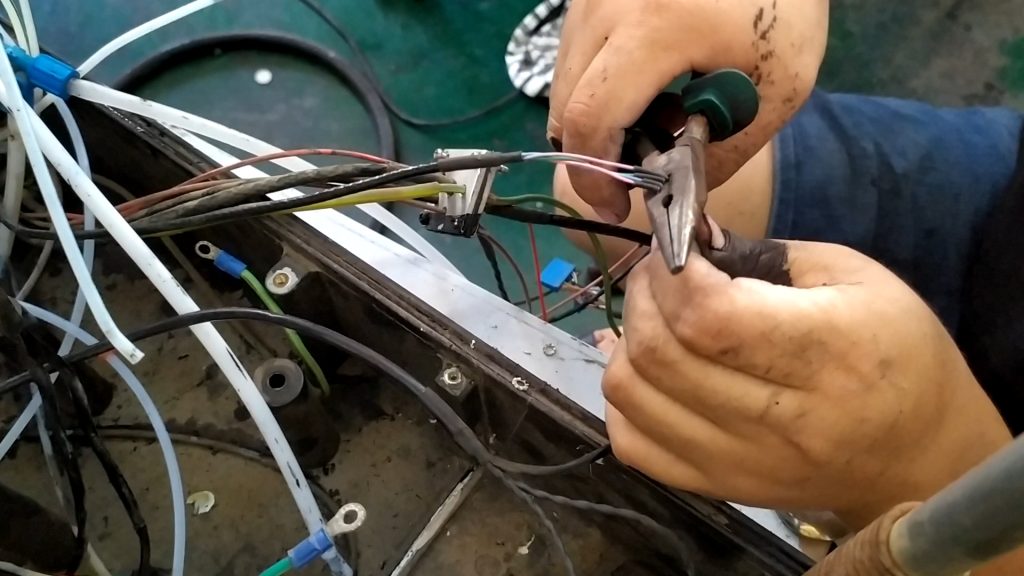
These lines are reserved:
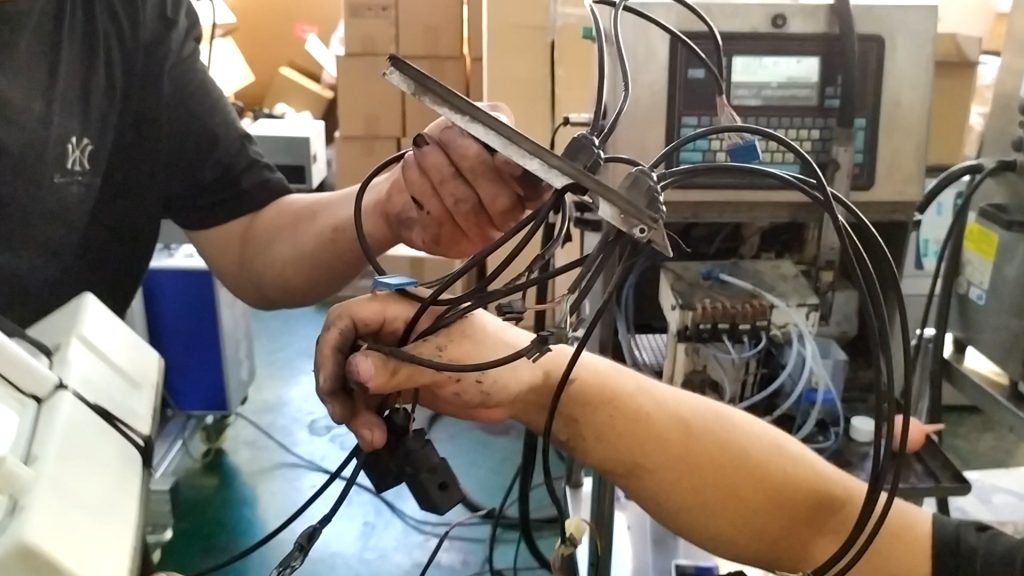
Remove this screw:
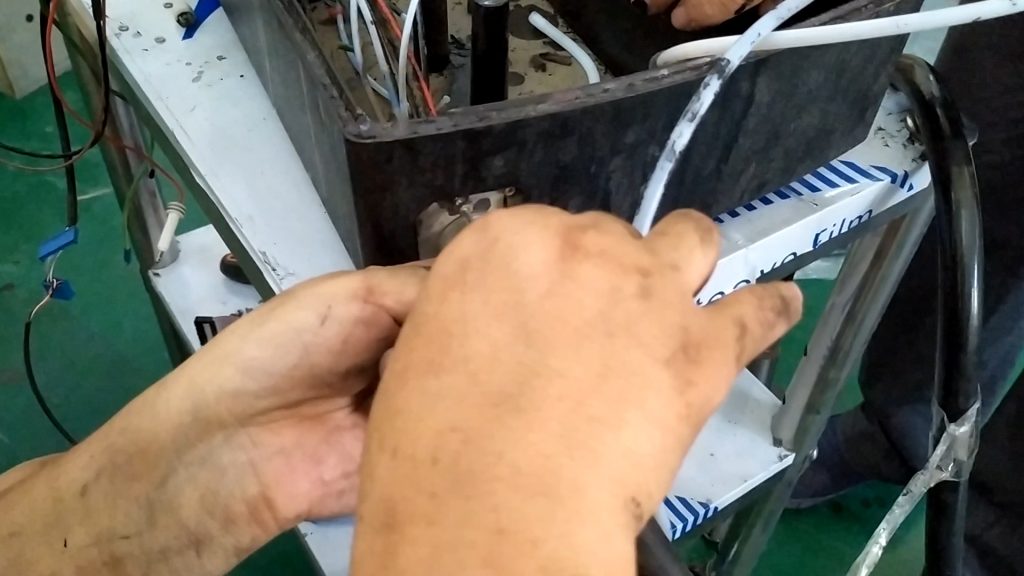
Removal of cleaning pump:
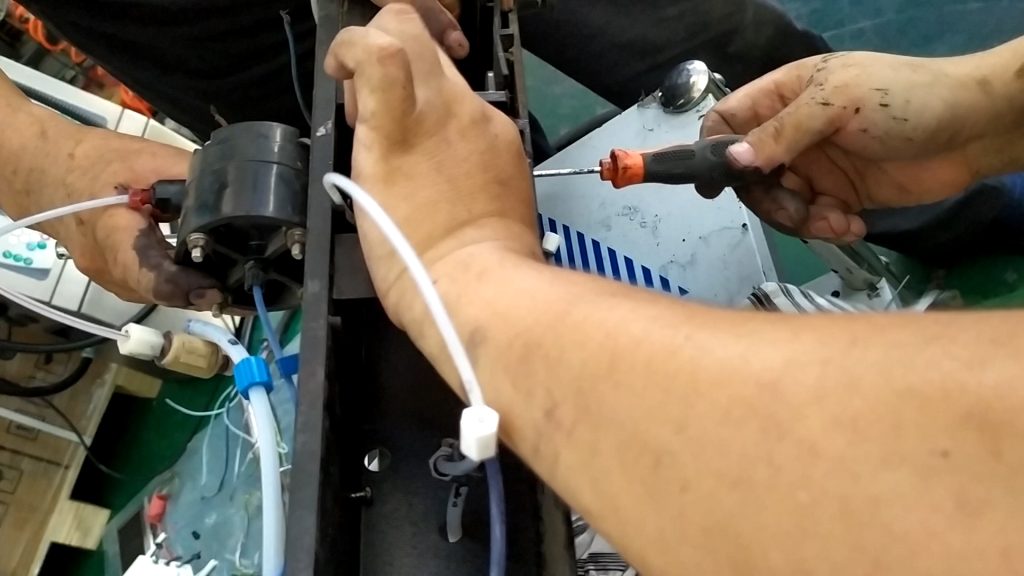
Fan sensor, sensor, cut off:
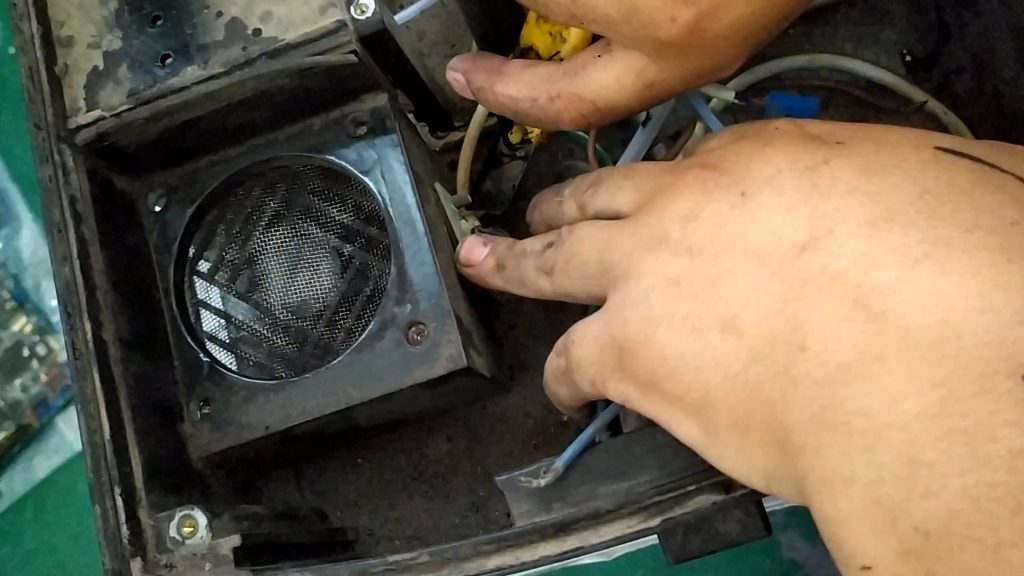
Remove the fan sensor: